Essential Tools and Products for Applying The Best, Most Professional Window Graphics For Your Business
Whether your business is a retail shop, an office building, or a restaurant, window graphics are an excellent choice for branding, marketing, and to simply make your storefront stand out from the crowd. To keep your Chicago-based business competitive, consider installing window graphics for the purpose of branding, seasonal decorations, or advertising discounts and sales.
To successfully apply (and remove) window graphics, you’ll need the right tools and know-how. This checklist provides the basics behind the various tools and products you’ll need for your DIY sign installation of successful, professional window graphics.
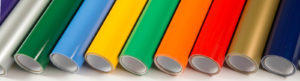
- Vinyl
First and foremost, to create window graphics, you’ll need the raw material the graphic is made of: vinyl. There are a variety of types of vinyl on the market, with the three main categories being calendared, cast, and specialty. Calendered vinyl tends to be unstable, with a lower color selection and lower gloss levels. Cast vinyl tends to offer the broadest color selection, the best stability, and the longest lifespan. Your choice will be dependent on your needs and your budget.
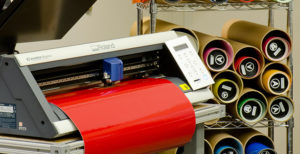
- Vinyl Cutter
After printing a vinyl sign, it needs to be cut so it can be placed. A vinyl cutter will cut the top two layers (the face film and the adhesive), leaving behind the liner from which the sign is peeled from.
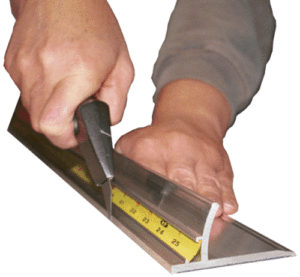
- Safety Ruler
As with any sharp object, accidents can happen. Make sure you stay safe while creating and installing your window graphics. A safety ruler helps keep your fingers protected while handling a vinyl cutter.
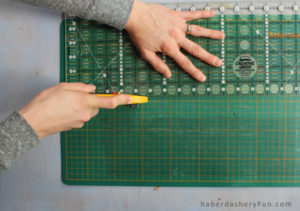
- Cutting Mat
Cutting mats protect your tabletop and also provide measurements to make sure your sign is sized accurately. A quality cutting mat can last a lifetime when taken care of properly.
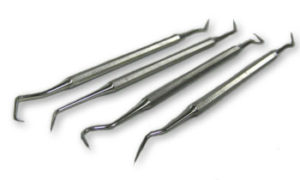
- Weeding Tool
The top two layers of vinyl are cut with the vinyl cutter, but the sign itself must be peeled from the remaining vinyl (the negative space around or inside of the letters). This is a process called weeding, made easier by the use of a weeding tool.

- Substrate
So you have your sign. Now what? The substrate is simply the surface that the sign will be applied to. Common substrates include windows and other glass surfaces, banners, and walls. Substrates can be rigid or flexible; windows fall under the rigid category. The best rigid substrates for vinyl sign application are smooth and flat (like glass).
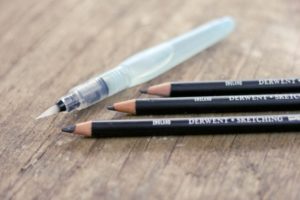
- Water Soluble Pencils
Water soluble pencils help you position your graphics on vinyl and glass for the right placement. Then, the markings can be easily wiped clean with a damp cloth, leaving no pencil markings behind.
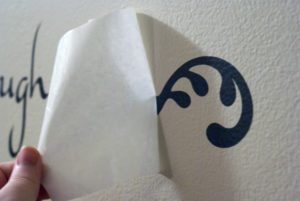
- Transfer Tape
Transfer tape transfers the weeded vinyl to the substrate. To use, lay a sheet of tape over the vinyl and press down with a squeegee. Peel the tape away from the liner and transfer to the substrate.
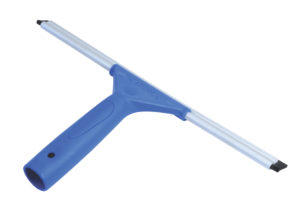
- Squeegee
A squeegee is needed when laying down the transfer tape over the vinyl. The squeegee presses the tape into the vinyl. The squeegee can also be used during application to the substrate; firm pressure activates the adhesive.
- Roller Applicator and Torch
A roller applicator simply makes application of your window graphic a breeze. Used in conjunction with a torch, a roller applicator can seal rivets. Make sure your roller applicator is heat resistant!
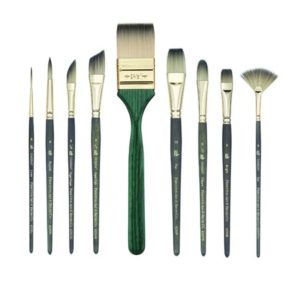
- Brush
Like roller applicators and torches, brushes can also help seal graphics over rivets. Brushes are also great for helping apply window graphics to textured surfaces.
- Bubble Popper Tool
Your installation might not always be flawless, and bubbles happen. Use a bubble popper tool to make your window graphic appear perfectly manicured and bubble-free.
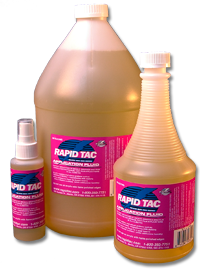
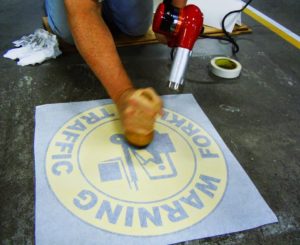
- Application Fluid
Window graphics can be applied two ways—wet and dry. The purpose of application fluid (used for the “wet” method) is to help you place the graphic just right. Only a small amount of application fluid should be used, if at all, and not all vinyl graphics are compatible with application fluid.
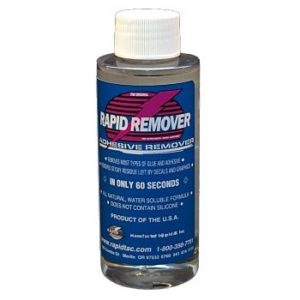
- Remover Fluid
What goes up must eventually come down—and that includes your window graphics. To successfully remove window graphics, there are a handful of different options with different costs associated. Remover fluids will help dissolve any adhesive residue leftover.
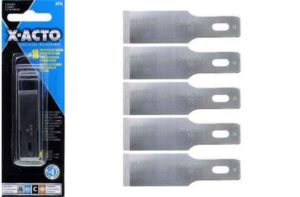
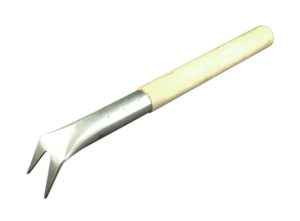
- Chisel/Razor Blades
Another option for removal is to simply pull the window graphic off the substrate. However, this is easier said than done. Small plastic chisels and razor blades can help coax the vinyl graphic off the window. Once the corners are pried open, the remaining vinyl graphic should easily peel off.
Vital Signs USA travels to many different communities to provide top quality signs. Vital Signs USA’s service area includes all of metropolitan Chicago, including Lombard, Naperville, Oak Brook, DuPage County, and Schaumburg.
Remember, Vital Signs USA is a full-service sign company, providing start-to-finish design and installation for your business’s signage needs. The experts at Vital Signs USA are happy to install your window graphics for you.
Get a free quote on custom window graphics (with or without installation), and visit vitalsignsusa.com to learn more about how Vital Signs USA can help your business’s branding succeed.